paint your plastics
Posted: Fri Jul 20, 2012 2:05 pm
The OEM front fender is fine for offroad and MX but on the road it is a major pain, bouncing around like the kite it is. So I changed it out for a supermoto fender which worked fine until it rained. Then I get a rooster tail to the face from the front tire. My solution was to make a new fender. I used the stock fender that came with the bike.
Starting with my OEM fender I cleaned it w/soap, sanded it w/220g then I applied an engine primed and let it sit for two days. It is important not to rush this step, you must allow the primer to fully cure or you will disrupt the bonding process. After the first coat had cured I used up the spray, making a good deep base. Then I sanded with 600g and moved on to the design.
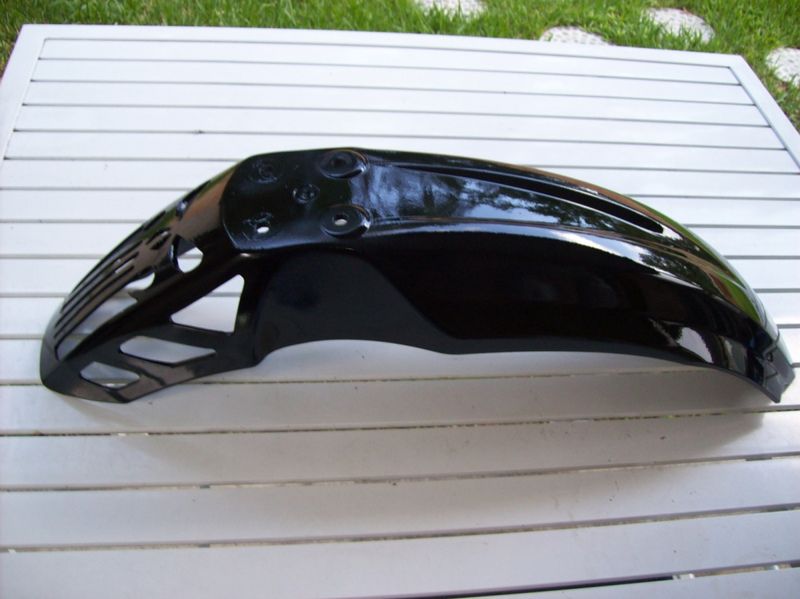
I need to crop and trim the front fender. I used a center line to insure I kept both half’s identical.
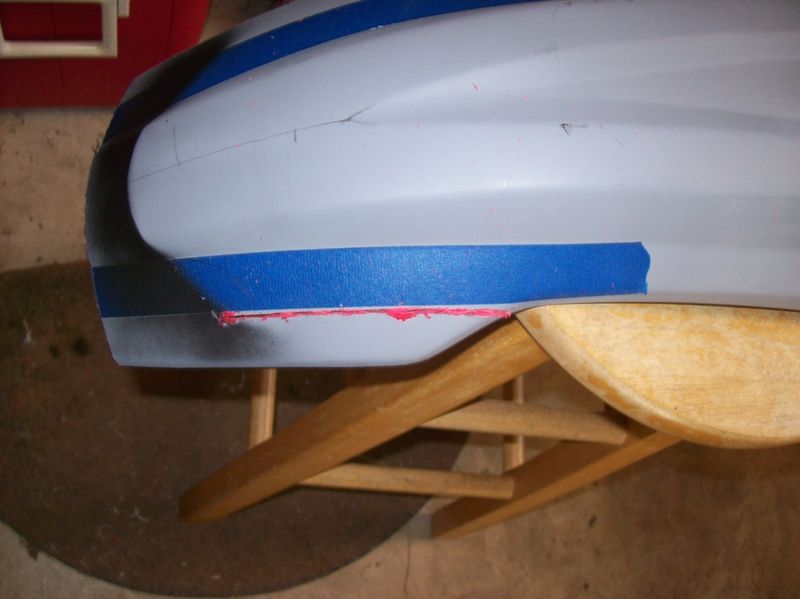
You can see my first cut is well off the line. I will get to it with a random orbit sander using 120g.
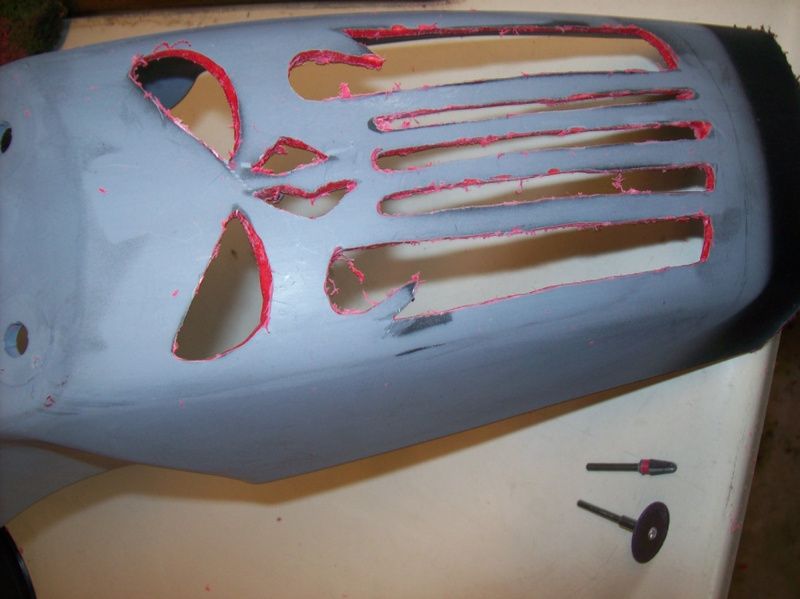
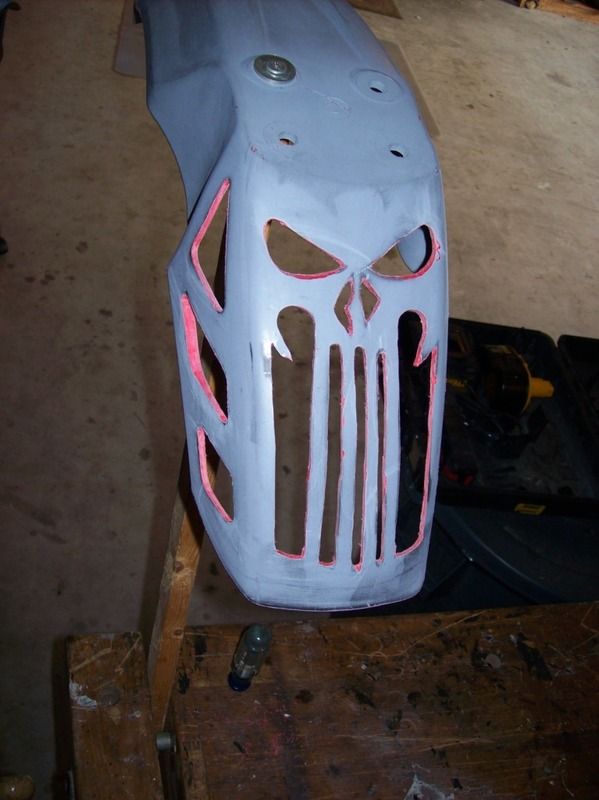
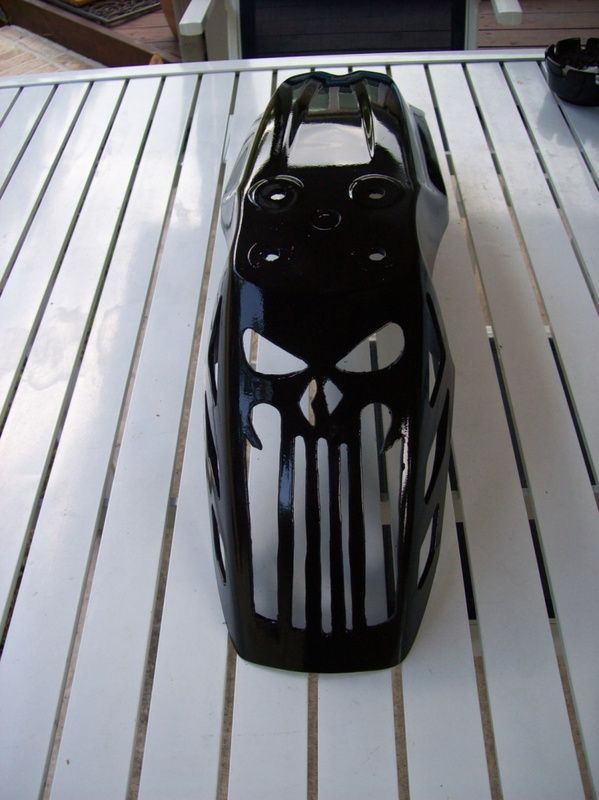
Next I need to crop and open the back of the fender. Not being very artistic I barrowed a design from the net, edited the scale to fit my needs, printed a few pages, then used an X-acto knife to make a stencil.
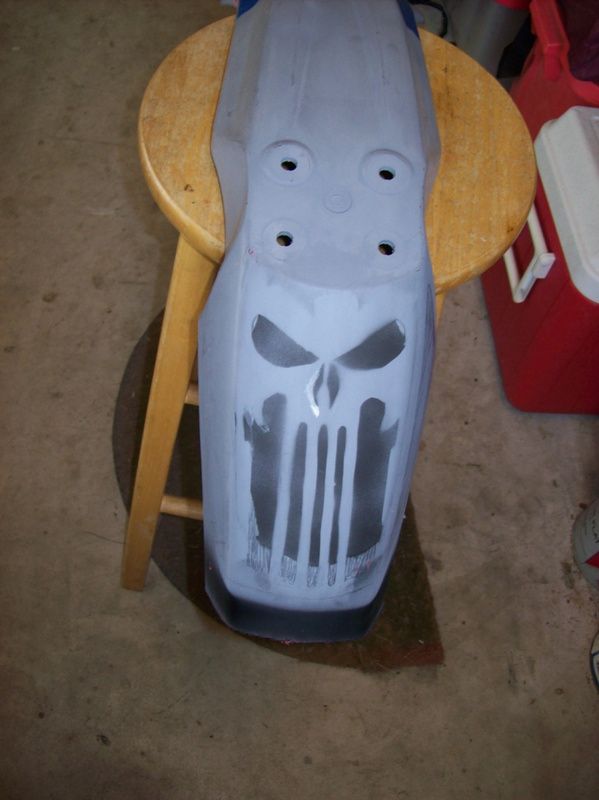
It took me three attempts to get it centered. Starting over is made easy by using a small amount of mineral spirits to remove the black paint.
I used a Dremel with cutting wheel and then a pocket knife to open up the work.
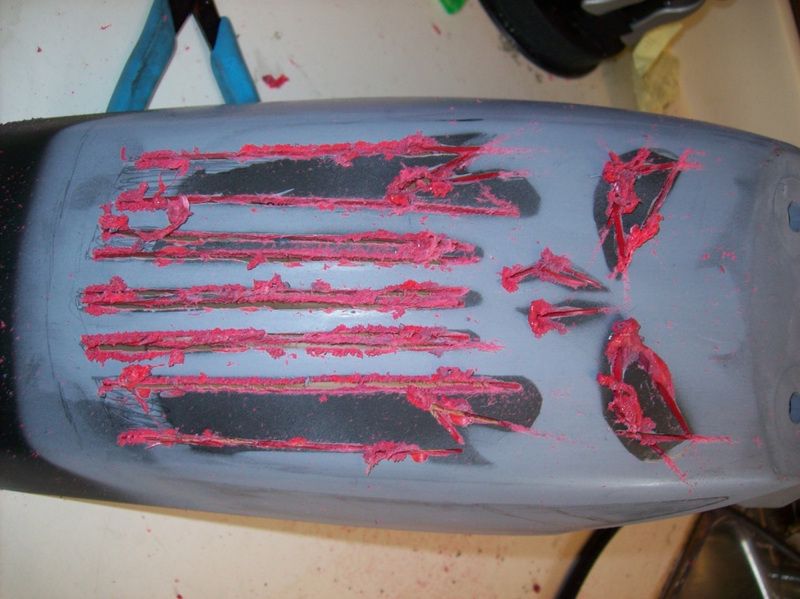
Then a #117 high speed cutting tool, on a low to med speed. To finish removing the plastic.
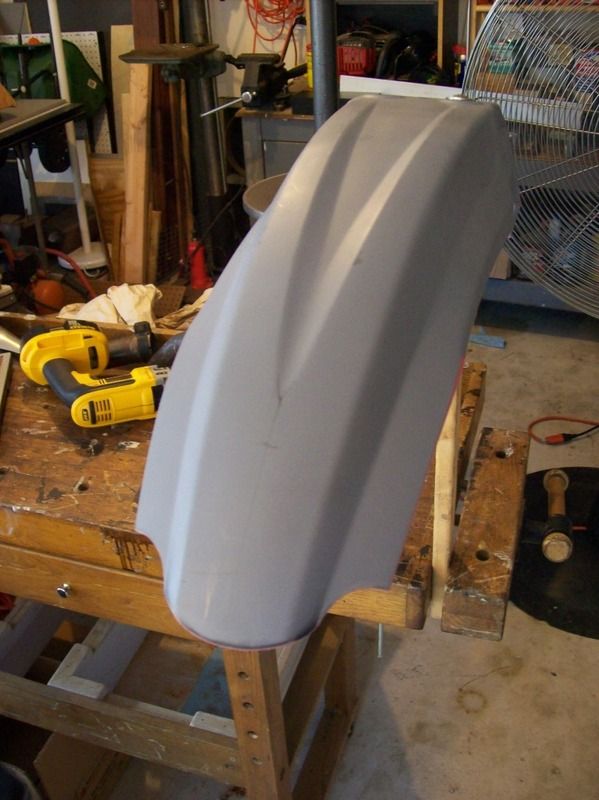
I then used various small files to flatten cuts, round corners and trim excess plastic. I then sanded from 220g to 600g. I then mounted the fender to a 1x2 for spraying the final coats.
It is very important to not rush the final coats. You will want at least three coats of finish and three coats of clear. I have used many brands all with similar results. I found it necessary to modify the Valspar nozzle by trimming the housing to prevent paint buildup near exit port.
There are three key points of interest concerning the finish coats.
The first is clean with isopropyl alcohol wiping any excess off. Don’t let it air dry. Acetone, lacquer thinner and mineral spirits are to abrasive on your primer.
Second, thin coats only! Too much paint will result in a wrinkling pattern that will take longer to dry and require much carful sanding.
Finally, sand between coats. You only need to sand imperfections or “holidays”. I found I had best results after I let the fender sit in the afternoon sun, then allowed to cool before sanding. Sand using 600g with a very light hand, whipping off debris and changing paper frequently. I used 2 ½ full sheets of 600 grit on this job.
Ready for clear coating.
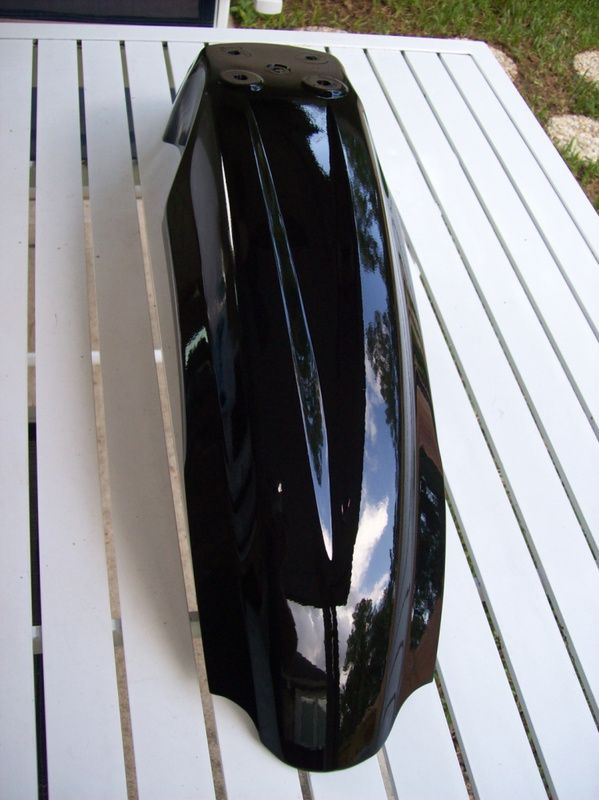
I used Valspar clear coat. Overspray is an issue with this product but there is no need to sand between coats. You should allow the finished work to sun bake for a day then cool over night before installing.
Starting with my OEM fender I cleaned it w/soap, sanded it w/220g then I applied an engine primed and let it sit for two days. It is important not to rush this step, you must allow the primer to fully cure or you will disrupt the bonding process. After the first coat had cured I used up the spray, making a good deep base. Then I sanded with 600g and moved on to the design.
I need to crop and trim the front fender. I used a center line to insure I kept both half’s identical.
You can see my first cut is well off the line. I will get to it with a random orbit sander using 120g.
Next I need to crop and open the back of the fender. Not being very artistic I barrowed a design from the net, edited the scale to fit my needs, printed a few pages, then used an X-acto knife to make a stencil.
It took me three attempts to get it centered. Starting over is made easy by using a small amount of mineral spirits to remove the black paint.
I used a Dremel with cutting wheel and then a pocket knife to open up the work.
Then a #117 high speed cutting tool, on a low to med speed. To finish removing the plastic.
I then used various small files to flatten cuts, round corners and trim excess plastic. I then sanded from 220g to 600g. I then mounted the fender to a 1x2 for spraying the final coats.
It is very important to not rush the final coats. You will want at least three coats of finish and three coats of clear. I have used many brands all with similar results. I found it necessary to modify the Valspar nozzle by trimming the housing to prevent paint buildup near exit port.
There are three key points of interest concerning the finish coats.
The first is clean with isopropyl alcohol wiping any excess off. Don’t let it air dry. Acetone, lacquer thinner and mineral spirits are to abrasive on your primer.
Second, thin coats only! Too much paint will result in a wrinkling pattern that will take longer to dry and require much carful sanding.
Finally, sand between coats. You only need to sand imperfections or “holidays”. I found I had best results after I let the fender sit in the afternoon sun, then allowed to cool before sanding. Sand using 600g with a very light hand, whipping off debris and changing paper frequently. I used 2 ½ full sheets of 600 grit on this job.
Ready for clear coating.
I used Valspar clear coat. Overspray is an issue with this product but there is no need to sand between coats. You should allow the finished work to sun bake for a day then cool over night before installing.