The theory is that filling the pipe with water and freezing it will expand and get the dent out. Tried it one time and it didn't even move the dent. So I didn't think it would work for me. Next time, I noticed a small improvement. 3rd time was a charm, surprised me. Totally removed the huge dent. Just fill it, and stand in freezer overnight, and do it again until dent comes out. No need to plug the ends, as the water freezes in the ends first and expands in the center. Big dent and crease gone.
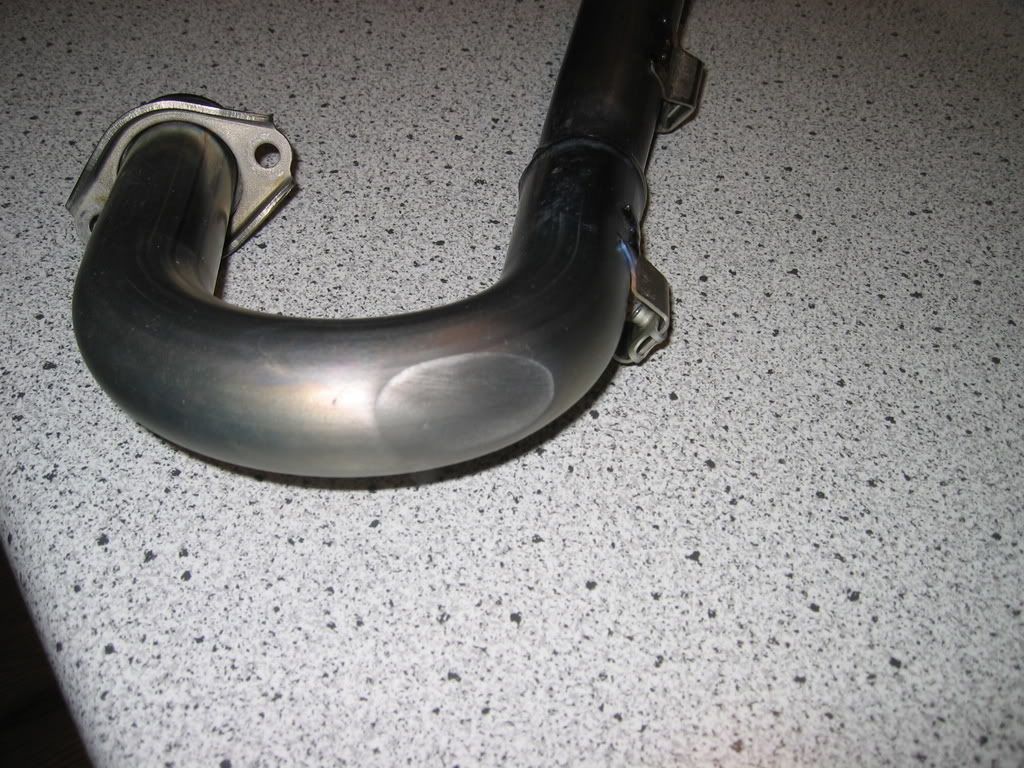
Before
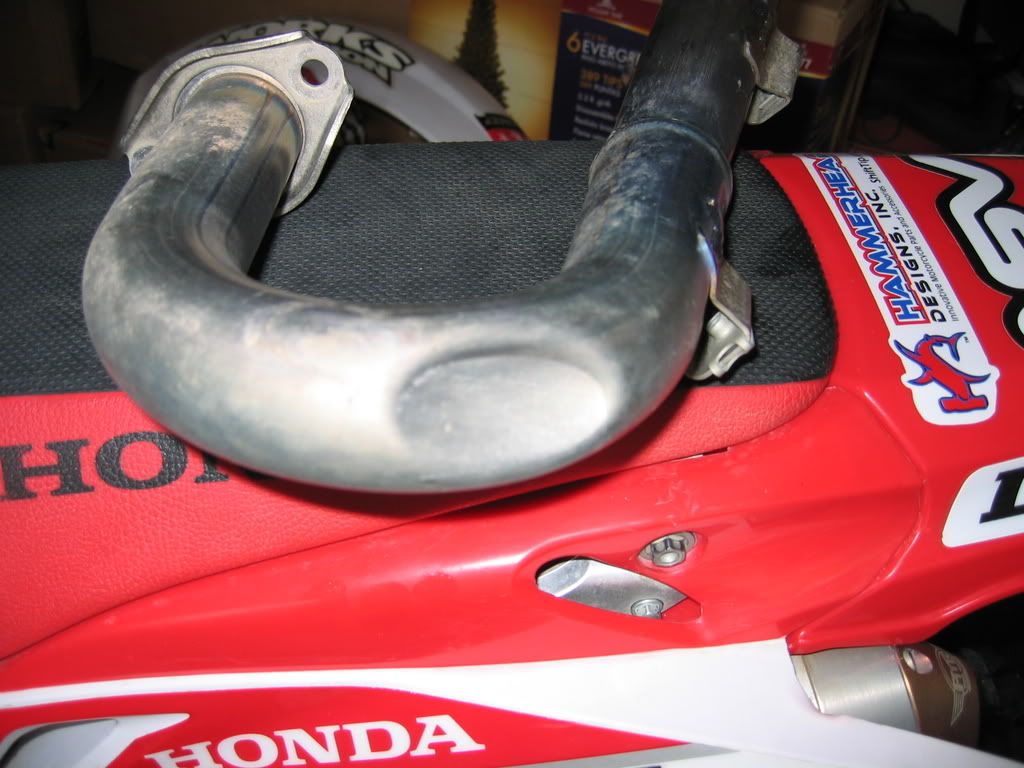
After